Getting Started#
Python Installation Started#
There are many ways to install Python: Python Software Foundation website or via a third party Python distribution such as Anaconda. I recommend that you use Anaconda to manage your Python installation because it simplifies the package management and conda environments, especially when working with large projects.
Installing Python with Anaconda#
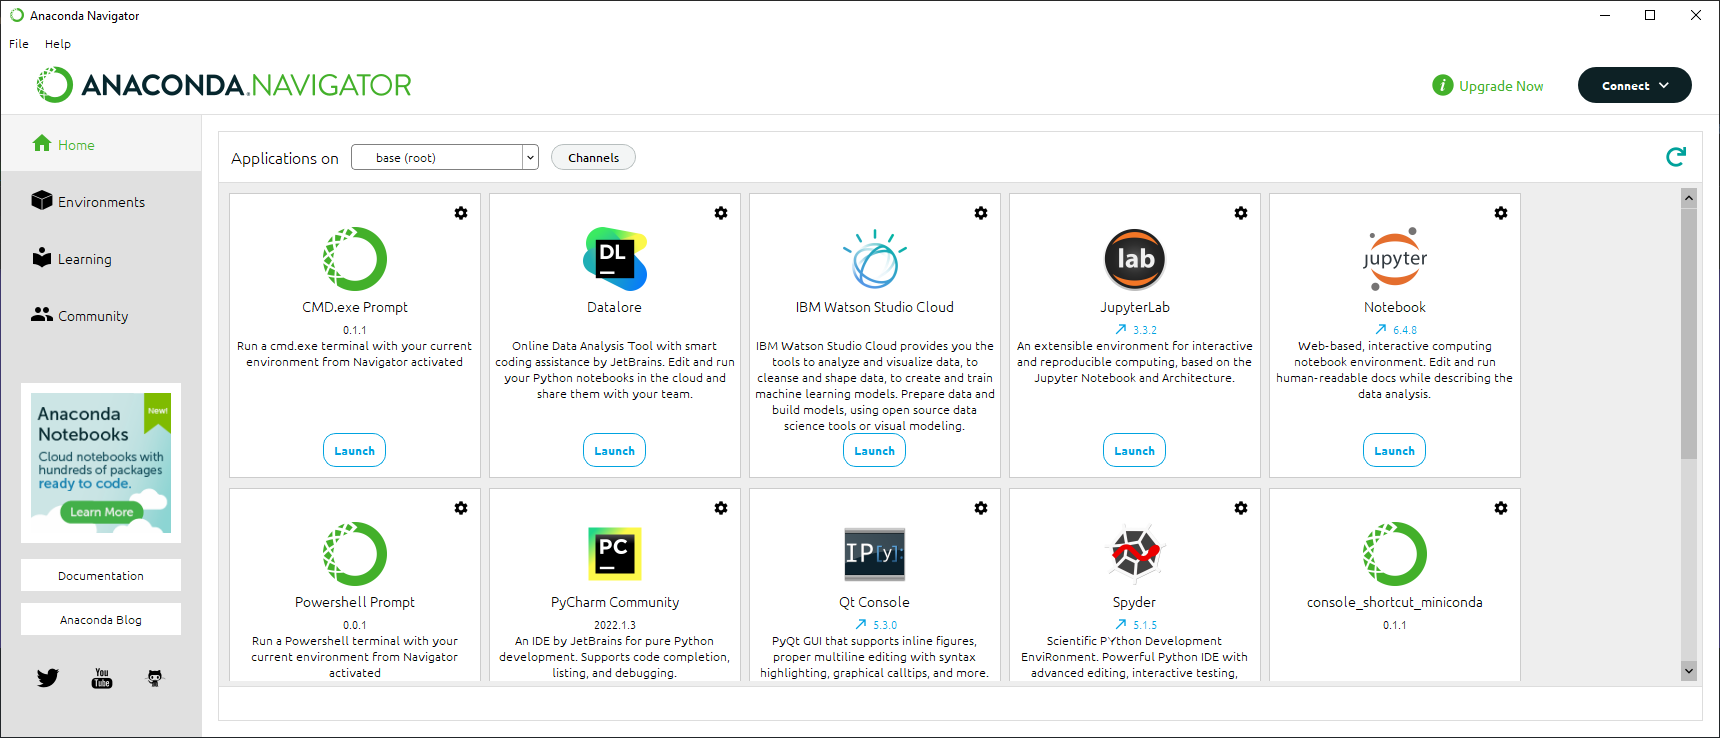
Anaconda is a Python distribution and provides a user-friendly platform for scientific community. Anaconda installation includes a Python Interpreter (i.e., this is where you can run your codes), the Anaconda Prompt (a command line utility to install new python packages and create environments), Spyder (a code editor) and all Python Standard Library modules. Also, Anaconda distribution has Anaconda Navigator, so the users can launch other applications such as Jupyter notebooks.
 To install python via Anaconda distribution:
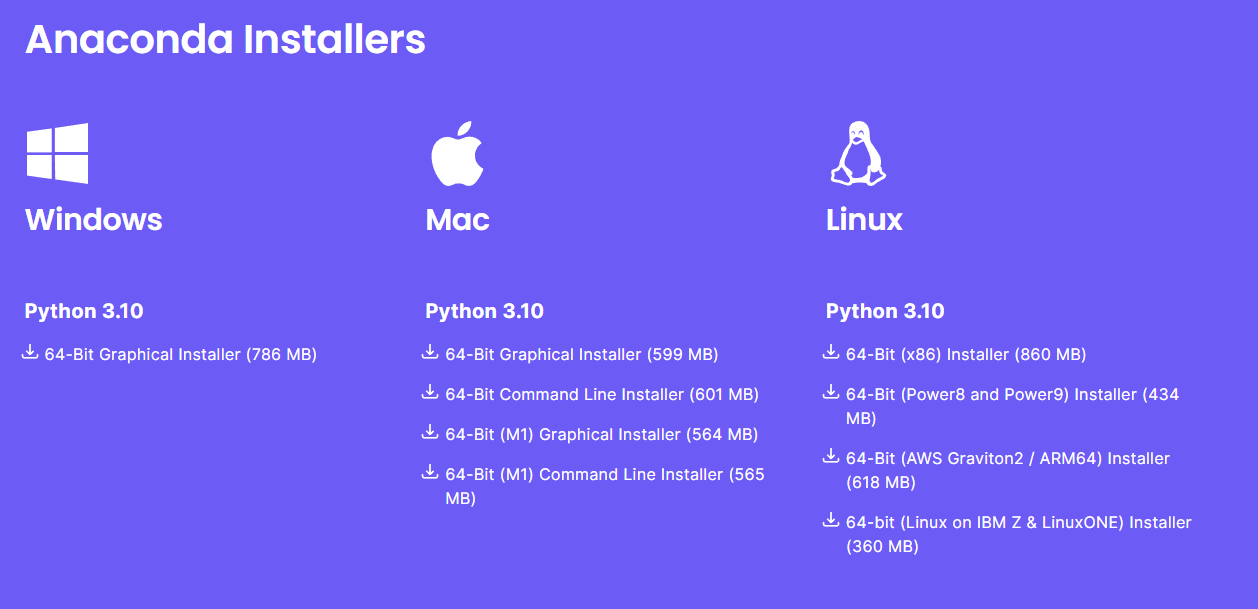
Download the Anaconda distribution for your operating system (Windows, macOS, or Linux). Make sure to download it is the latest stable release.
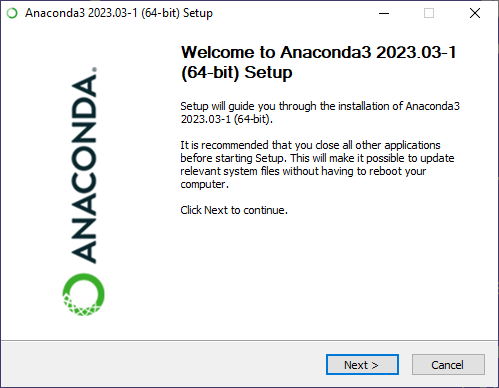
 2. Once the download is complete, run the installer and follow the installation instructions. It may take a few minutes for the installation process to complete.
Note
During the installation, you’ll be prompted to choose the installation location and whether you want to add Anaconda to your system’s PATH environment variable. It is generally recommended to leave the default options selected unless you have specific requirements. I preferred to change my Anaconda folder to root C:\
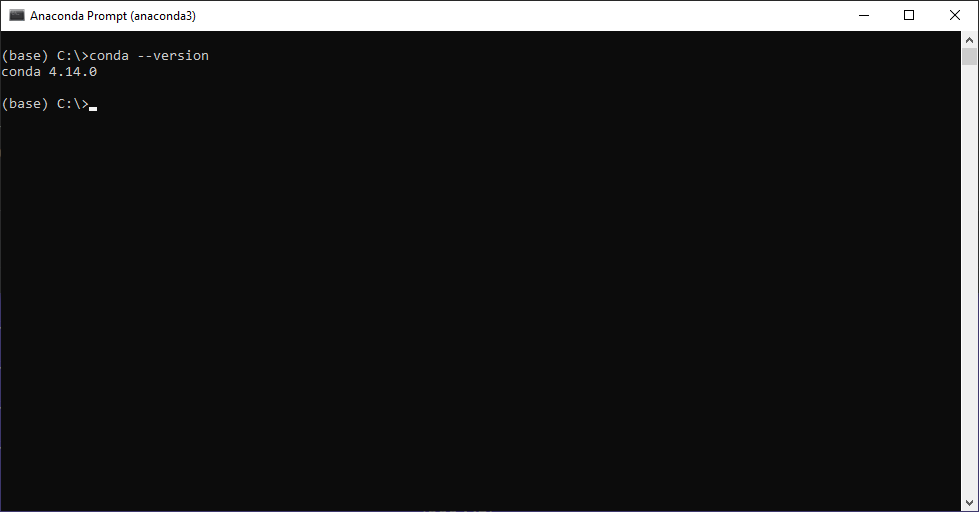
To verify the Anaconda installation, open a new Anaconda terminal and type the command:
> conda --version
But, how do I use my python interpreter?#
Now, you ask “how do I use my python interpreter?”. In a simple way, when you open a new Anaconda terminal and type “python”, you should see something like this:
> python
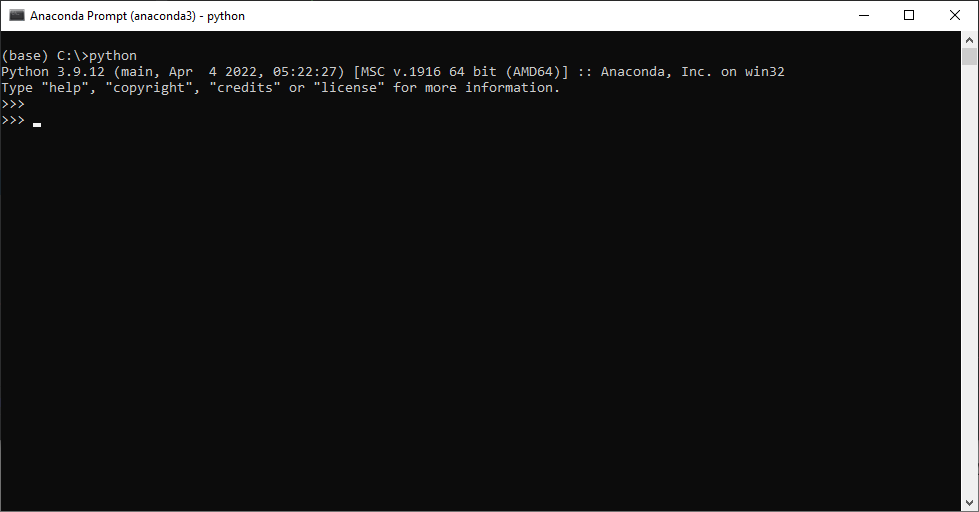
This is the python interpreter that you can use to run your codes. Now you can play around with it, and do simple calculations or write line-by-line your own.
>>>2+2

When you want to build a computer program, this is not the most efficient way and this is why we need the code editors (i.e., Integrated Development Environment (IDE)) where we can write our codes and use the python interpreter to actually run them.
Code editor#
To run your Python code, you will need an Integrated Development Environment (IDE) or a code editor to write and execute your code. There are several editors and below are few examples of popular IDEs or code editors that you can use to write and run Python code. Each IDE may have its own specific features and workflows, but the general steps involve creating a .py file, writing your code, and executing it using the appropriate commands or buttons provided by the IDE. Below is a table of simple text editors and IDE’s which can edit and run Python code:
Python Text Editor |
Description |
|---|---|
Idle |
Included with Python from Python.org |
Sublime |
Full-featured editor with long-time no-cost license |
Spyder |
IDE included with the Anaconda Distribution of Python |
Visual Studio Code |
An multi-language open source IDE |
PyCharm |
Professional Developer-friendly Python IDE |
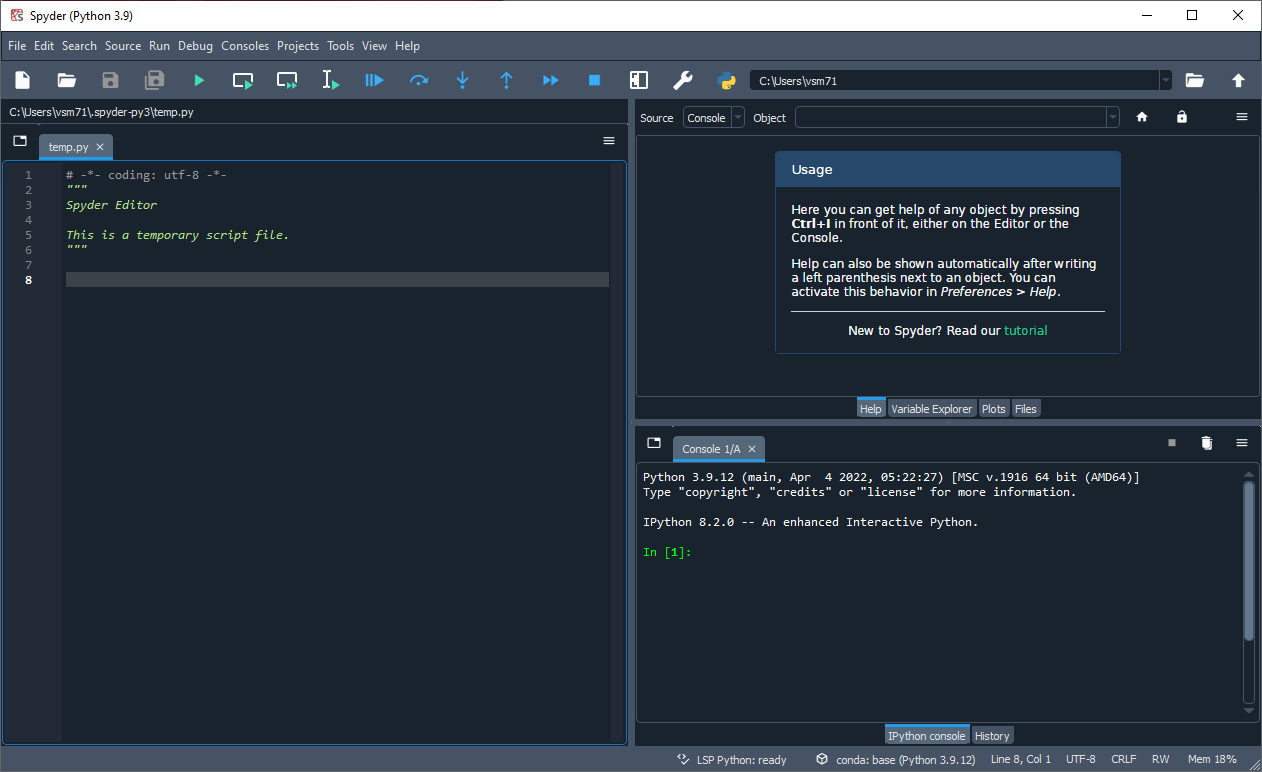
Spyder IDE#
Spyder is an IDE code editor provided by Anaconda (search for “Spyder” in the Anaconda Navigator).
Run the spyder code editor and you will have a window to write your codes and execute them.
PyCharm IDE#
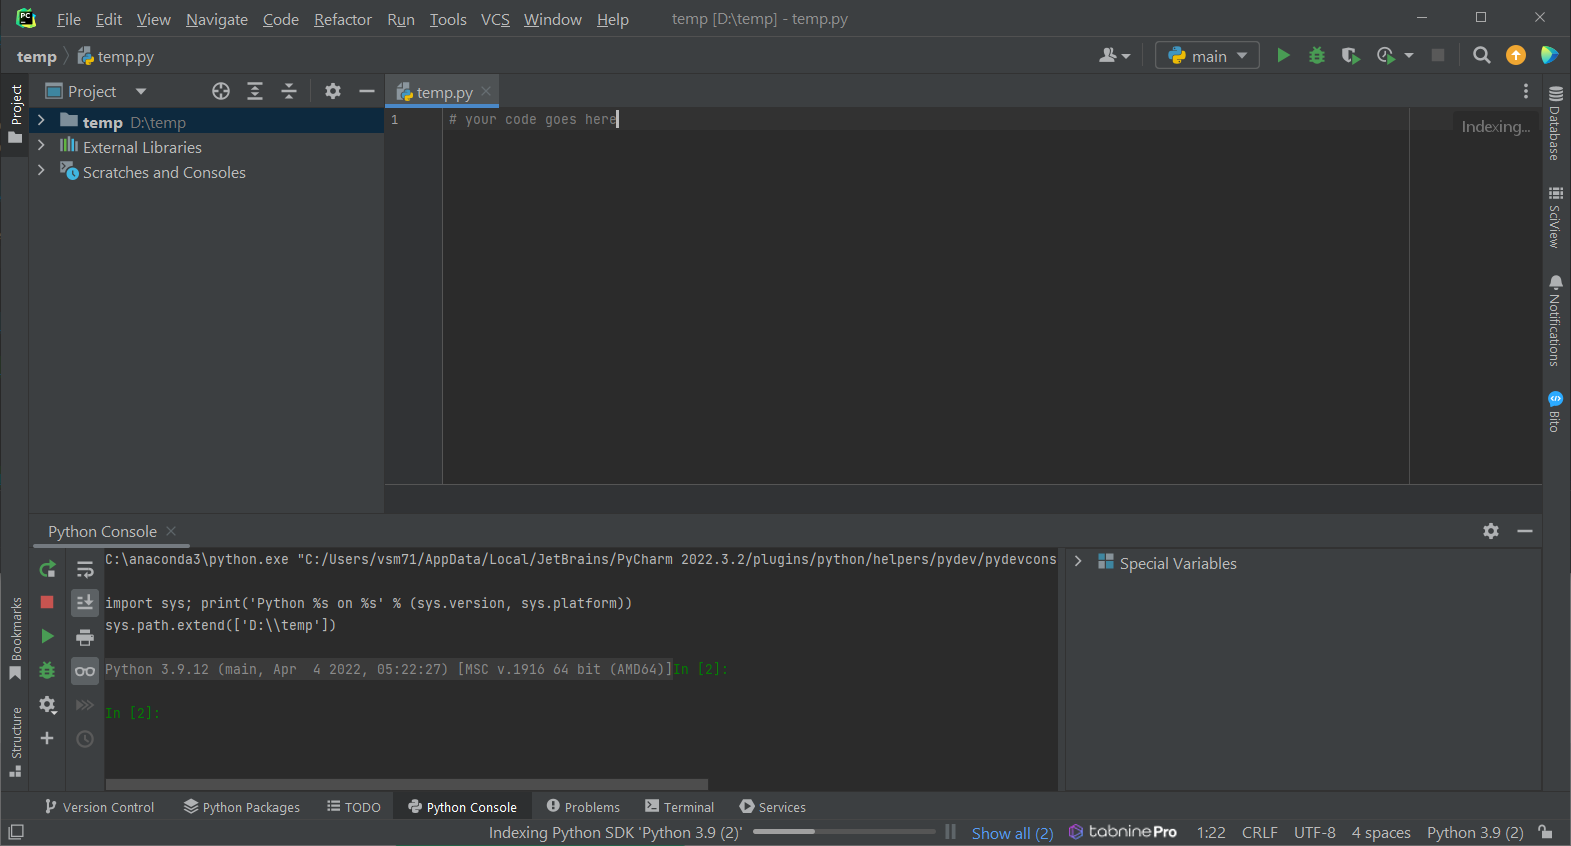
I recommend that you use PyCharm or Visual Studio to run Python code. PyCharm has a comprehensive set of tools for code writing, debugging, and testing. If you prefer, download and install the IDE for community (free) or professional in the JetBrain/PyCharm. Now, you can create a new project, set up your python environment, and start coding! See this guide for more information.

Once you have completed the installation process, you can start coding!
Check out the setup guide for PyCharm:
Another tutorial: PyCharm setup
Hint
Cloud-based IDE
Google Colab is a cloud-based integrated development environment (IDE) provided by Google for writing and executing Python code. It allows you to create and share Jupyter notebooks, which are interactive documents containing code, visualizations, and explanatory text. If you prefer, open your web browser and go to the Google Colab website (https://colab.research.google.com/). In the notebook, you can write your Python code in code cells and execute by clicking the “Play” button. Remember that the code and data in Colab notebooks are stored temporarily, and the session can time out after a period of inactivity. However, you can save your work to Google Drive or other storage locations to persist your notebooks for future use.